Software Installation
Please Log In for full access to the web site.
Note that this link will take you to an external site (https://shimmer.mit.edu) to authenticate, and then you will be redirected back to this page.
We'll be using several pieces of software for the course - Visual Studio Code for writing code for the microcontroller, Arduino IDE (just for the Serial monitor), KiCAD for PCB design, and Fusion 360 for mechanical CAD.
Visual Studio Code
The first thing we need to do is download and install the software that we'll be using to work with our microcontroller. We could just use regular "Arduino" and its IDE, but it's not great. So instead we'll use Visual Studio Code with the PlatformIO extension. While less hand-holdy than the Arduino IDE, it is a far more usable development environment (minus a few annoyances), and essentially what is/could be used in industry.
Visual Studio Code (VS Code for short)
If you already have Visual Studio Code (note this is NOT the same thing as Visual Studio), you can skip to the Visual Studio Code Extensions section.
Since we'll be using PlatformIO via a Visual Studio Code extension, so we'll first need to download VS Code. Go here and select the option for your operating system. Download and install it.
Visual Studio Code Extensions
Before installing the VS Code extension PlatformIO, we need to install Rosetta first. Rosetta allows your M1/M2 Mac to use apps that are meant for Macs with an intell processor (PlatformIO being one of them).
Go into a terminal and run:
softwareupdate --install-rosetta
Before opening VSCode (if already opened, quit the app), find VS Code in Folder, right click on it and click Get Info. In the dialog box, tick the Open using Rosetta option.
Note: This should help fix any chardet or arm64 and x86\_64 error messages. Ensure you quit VSCode and reopen it after making this change.
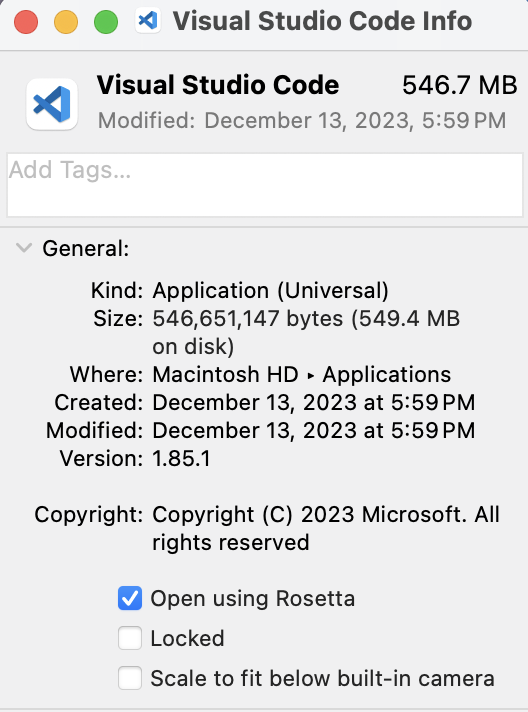
VSCode Get Info dialog box
Once it's installed, open up Visual Studio Code. You may be greeted with some optional setup steps, you can ignore these.
Take a look at the sidebar all the way to the left. Select the fifth one from the top (if you hover over it, it'll say "Extensions").

Visual Studio Code sidebar. "Extensions" is the last option from the top.
C/C++
When you click on that icon, a search bar should appear to the right of the sidebar. PlatformIO depends on Microsoft's C/C++ extension, so we need to install that. Type "C/C++" into the search bar and it should come up. It looks like this:
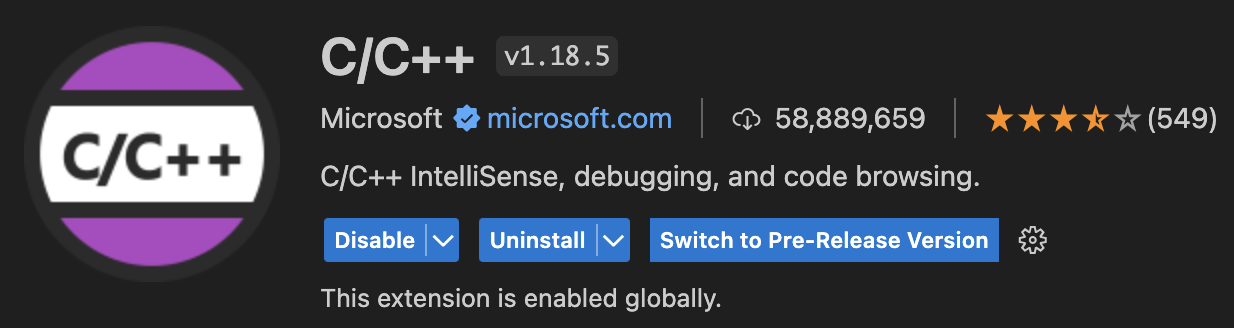
Select it, then click the blue "Install" button to install it.
PlatformIO
PlatformIO is the development environment we'll be using when doing the labs. It's offered as a Visual Studio Code extension, so we'll install it like we did the C/C++ extension. Type "PlatformIO" into the extensions search bar and this should come up:
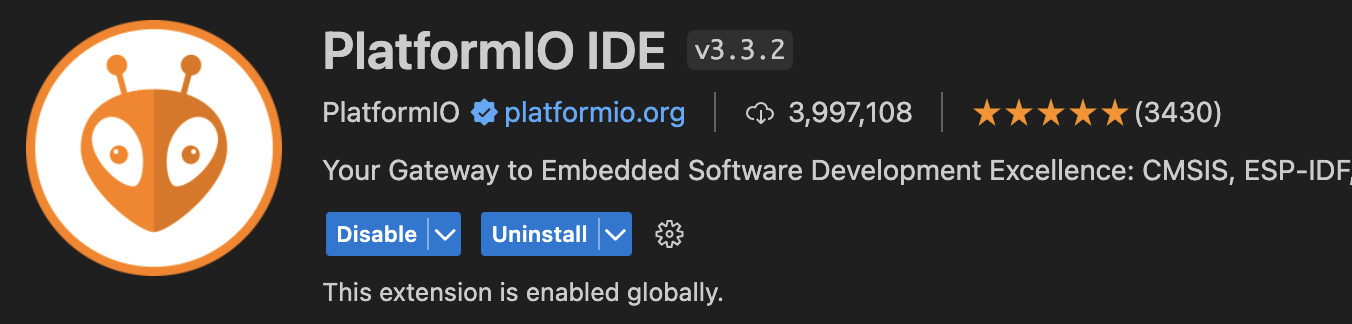
Select it and click "Install." Once it installs, restart Visual Studio Code (exit and reopen it). You should now have a new icon on your sidebar.

New PlatformIO Icon(!!)
Let's investigate. Click on the icon, and a menu should appear to the right of the sidebar. Click "Open" (the first option under the "PIO Home" section). Now, we should be on the PlatformIO home page! (If you are not, click on the little house in the bottom left corner of the screen, on the purple toolbar.)
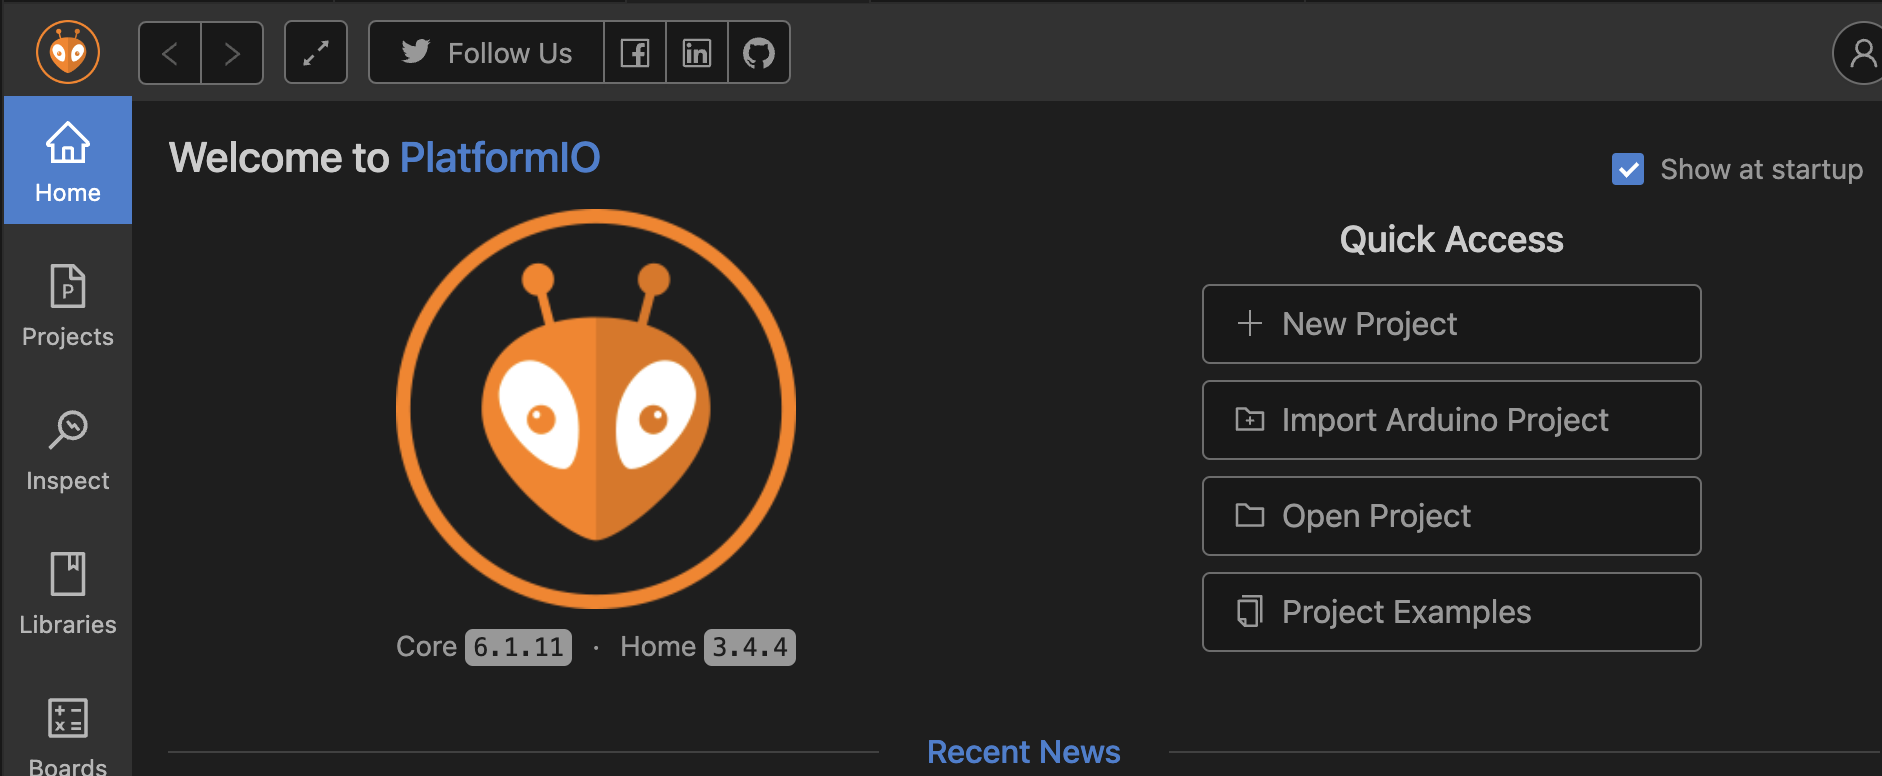
PlatformIO Homepage
Arduino IDE
Though "Arduino" and its IDE are not very great, they do have a better serial monitor than that provided in VS Code, so we will also be using that in this class. Specifically, we will be using the Arduino IDE 1.8.19.
If you already have that installed, you can skip this step. Otherwise, download the appropriate v1.8.19 installer for your operating system among those listed here.
KiCAD
To develop our own PCBs, we'll use KiCAD, which is a free and open-source schematic capture and PCB layout tool that is gaining in popularity.
For this class, we will be using KiCAD version 7.0+!
Installing KiCAD
Windows / macOS
Go here and select your operating system. This will bring to a page where you can click Github to download KiCAD.
Ubuntu/Fedora/Debian Linux
Follow the instructions found here for your appropriate version of Linux.
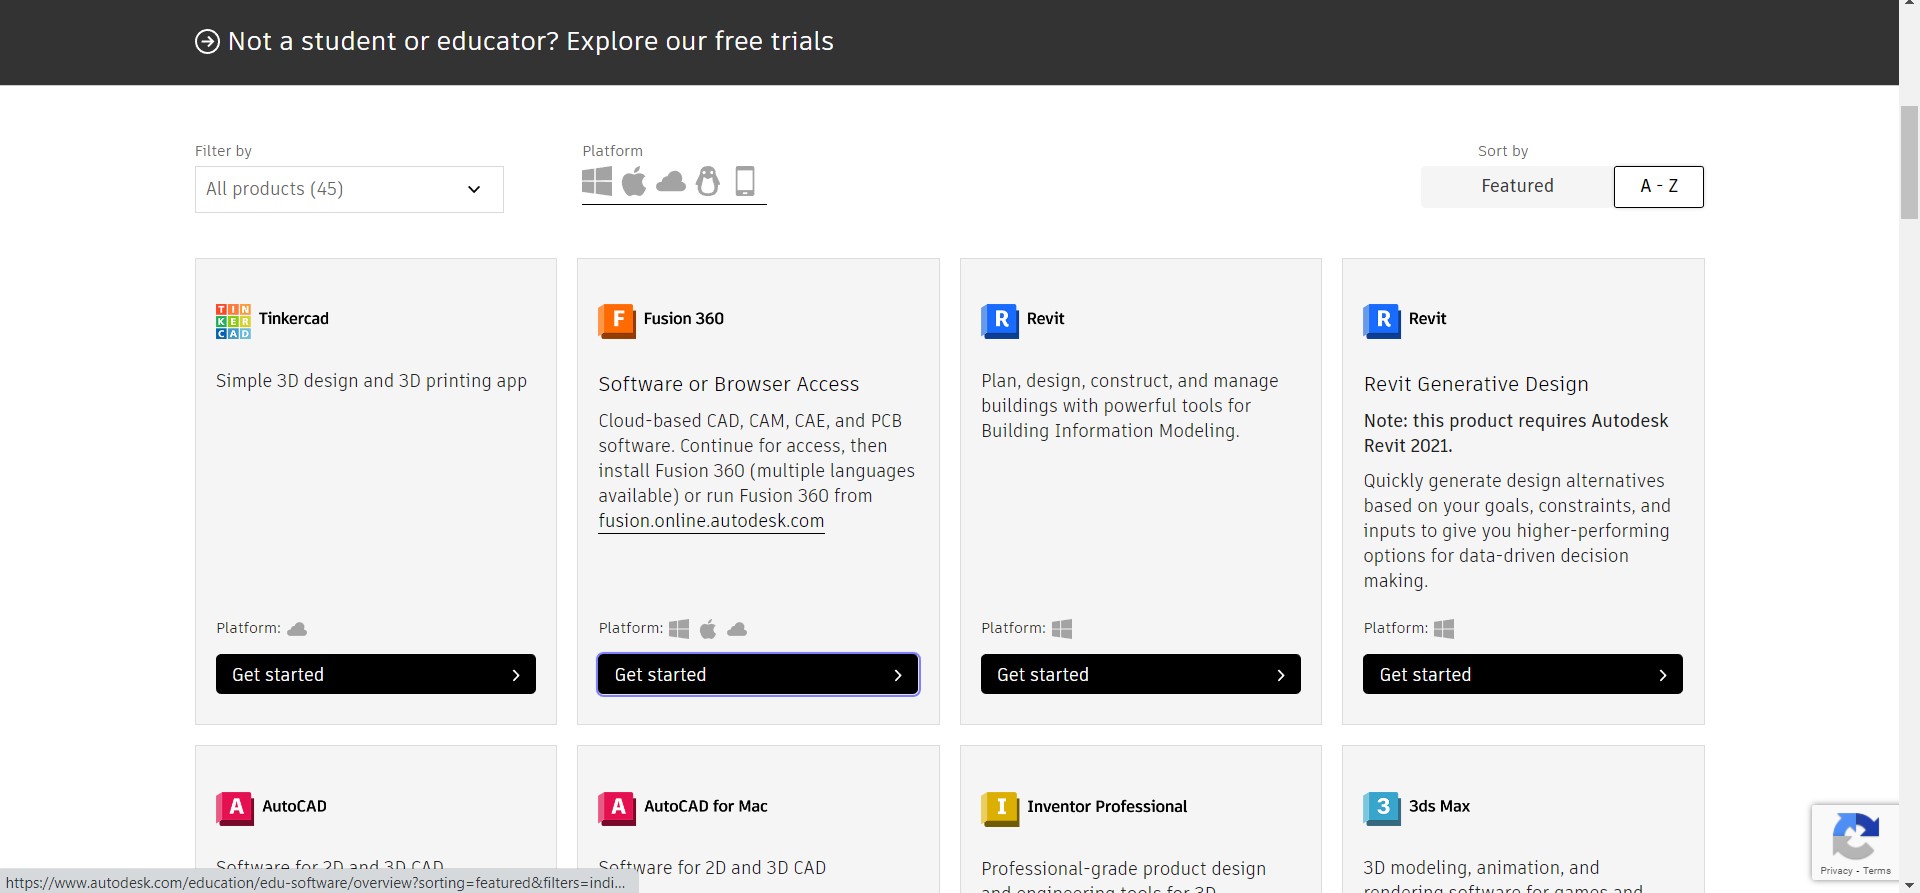
Fusion 360
We'll be using Fusion 360 for mechanical CAD. It's cross-platform-ish, and works on Windows and MacOS. If you're on a platform that isn't either of these, talk to us. We might be able to get it running inside one of Altium VMs for you.
Register for an Autodesk Account
Run over here, and sign up for an Autodesk account with your MIT email/kerberos. This will make sure that you're eligible for the educational license, which you can activate by hitting up IS&T here. This will grab your MIT certs, take you to the Autodesk site, and then activate your license.

Installing Fusion 360
Windows / macOS
Grab the appropriate installer for your OS from the Autodesk downloads page. Run it with the default options, and you should be all set.
Everything Else
You can run Fusion 360 in a browser! It's not as fast as the desktop, but if you sign in here you'll get the exact same interface as what you'd see if you were running it locally.